
How Do You Edit Pre-Wedding Photos?
Pre-Wedding Photos photoshoots are a popular way for engaged couples to capture beautiful portraits before their big day. While professional photographers can provide amazing raw images, most couples want to add their creative spin to their photos through editing. Proper photo editing can transform your pre-wedding pictures from great to absolutely stunning.
If you’re wondering how to edit your pre-wedding photos, this comprehensive guide will walk you through the entire process. From the best editing software to use to color correcting, improving lighting, and special effects, you’ll learn pro techniques to make your photos pop. Let’s get started!
Choose Your Photo Editing Software

The first step is choosing the right software to edit your pre-wedding images. Here are some top options to consider:
Adobe Photoshop/Lightroom
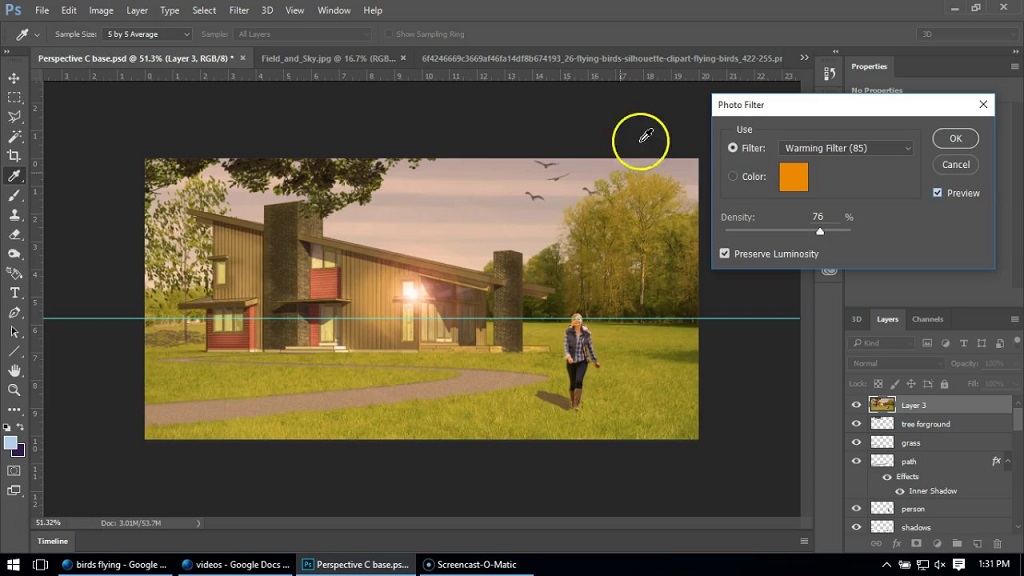
Adobe Photoshop and Lightroom are the industry standards for professional photo editing. Although there is a learning curve, these programs offer unparalleled capabilities for touch-up portraits. Features like layers, masks, and advanced Selection tools provide endless creative possibilities. Lightroom offers user-friendly organization features and batch editing capabilities. This dynamic duo is ideal for serious photo editing.
Pixelmator Pro
Pixelmator Pro provides a lighter weight but still robust editing experience compared to Photoshop. The user interface is elegant and intuitive. Powerful color correction, retouching, and effects tools allow you to enhance your pre-wedding photos quickly. Pixelmator is also more affordable than an Adobe subscription.
GIMP
GIMP is a free, open-source editing program with an impressive range of features. If you’re on a budget, GIMP provides high-quality photo editing tools without the price tag. The interface is less polished than paid options, but you still get selections, layers, filters, and more to edit to your heart’s content.
Snapseed
Snapseed is a user-friendly mobile app great for editing pre-wedding photos on the go. The app provides professional-quality filters and editing tools. Dial in color and lighting adjustments, add polish with brush tools, and experiment with fun special effects. Snapseed makes mobile photo editing a breeze.
VSCO
Like Snapseed, VSCO is a popular mobile editing app. It focuses on high-quality filters to enhance your pre-wedding images. VSCO presets provide subtle, film-inspired looks. The editing tools allow you to fine-tune your filters to create your ideal aesthetic. The app also has engaging communities for sharing photos and inspiration.
Import and Organize Photos
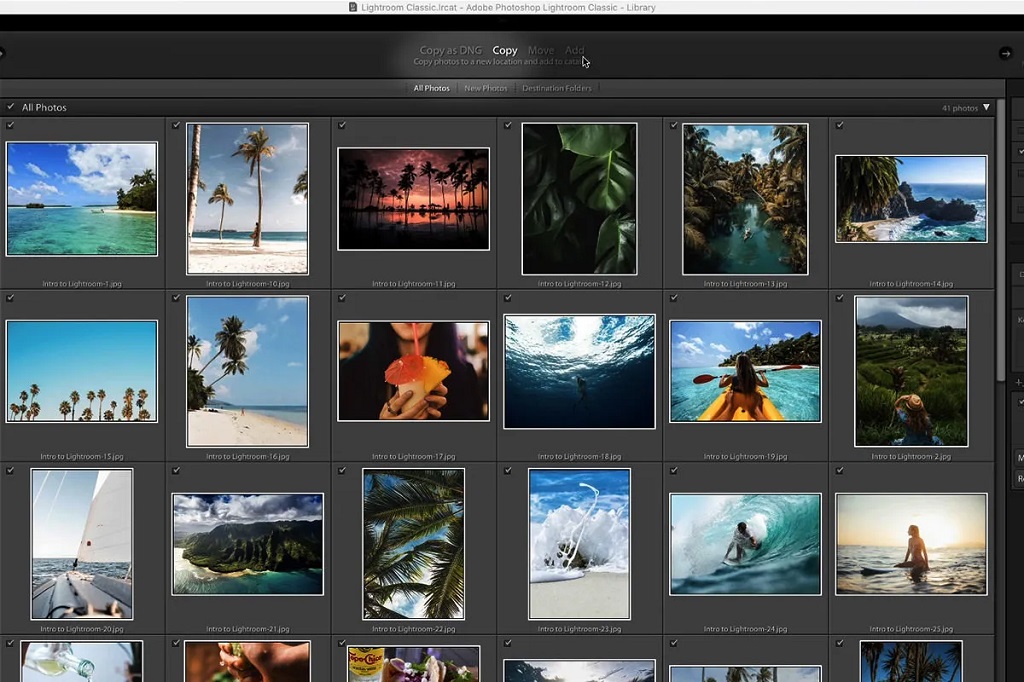
Once you’ve selected your editing software, it’s time to import your pre-wedding images. Proper organization at this stage will make the editing process much smoother. Here are some tips for importing and organizing your photos:
- Import All Images – Import every photo from your pre-wedding photoshoot to your computer or device. Don’t skip anything yet.
- Organize into Folders – Separate photos into folders based on location or outfit changes. This keeps similar images together.
- Add Metadata – Use keywords, ratings, and color labels to tag your favorite shots. This makes them easier to filter and find later.
- Delete Burst Outtakes – Review the burst mode series and delete duplicate, blurry shots. Just keep the best 1-2 options from each burst.
- Back-Up Files – Immediately back up your images to have a copy separate from your primary device. You don’t want to risk losing your photos before editing.
Following these steps ensures you have all your pre-wedding photos neatly organized for editing. Now, the fun part begins!
Global Adjustments
The first editing step is making broad improvements through global adjustments that affect the whole image. This enhances the overall color, lighting, and tone of your photos. Here are the critical global adjustments to make:
Color Balance
One of the most significant improvements you can make is adjusting the color balance. Warm-up tones that are too cool or cool-down tones that are too warm. Ensure skin tones are natural and authentic to life. Subtle shifts make a big difference.
Exposure
Fix under or overexposed photos by adjusting highlights and shadow levels. Recover blown-out highlights or lighten overly dark shadow areas as needed. Just take care not to lose detail.
Contrast
Increase contrast moderately to add punch. Be careful not to overdo it. Lower contrast can help regain detail in hazy or flat images. Find the right balance for each particular photo.
Saturation
A small saturation bump adds vibrancy and color intensity. Don’t oversaturate, or colors will become unrealistic. Desaturate slightly for a muted, romantic vibe.
Sharpening
Add a touch of sharpening to provide crispness, clarity, and detail. Too much looks unnatural, so sharpen subtly and selectively.
Noise Reduction
Eliminate graininess and ugly noise at high ISOs. Find an amount that smooths noise but retains detail—overdoing noise reduction results in an artificial, plastic look.
Vignetting
Darken the edges and corners for a natural, romantic vignette effect. This subtly draws the eye towards your subjects.
These global adjustments form the foundation of photo enhancement. Take the time to balance these different elements carefully, and your photos will come to life.
Local Adjustments
After perfecting the overall image, make targeted local adjustments to polish specific areas. This takes editing to the next level. Helpful local adjustments include:
Dodging and Burning
Lighten and darken selective areas, just like in a traditional darkroom. Subtly reduce shadows and highlights that detract from your subjects. This adds depth and dimension.
Blemish Removal
Imperfections like pimples and spots are common in close-up portraits. They’re easily removed with cloning, healing, and patching tools. Just take care to maintain natural skin texture.
Teeth Whitening
Brighten smiles with teeth-whitening techniques. Avoid over-whitening and losing realism. Subtle adjustments make teeth sparkle.
Eye Enhancements
Eyes are the windows to the soul. Carefully lighten whites, darken pupils, and enhance color to make the eyes pop.
Hair Frizz Reduction
Flyaways and curly hair can detract from elegant pre-wedding looks. Selectively paint over and blend down frizz for sleek, polished hair.
Take time with these local adjustments, working inch by inch until every detail is correct. Meticulous retouching can transform close-up portraits from great to breathtaking.
Special Effects
After finishing essential color, lighting, and retouching improvements, consider fun special effects to give your pre-wedding photos extra personality. Here are some dazzling special effects to try:
Black and White Conversion
Dramatic black and white looks powerful and timeless for portraits. Adjust sliders for brilliant contrast and tonality. Leave just a pop of color on lips or flowers for extra flair.
Sun Flare Effects
Subtle sun flares and beams add ethereal warmth, like rays of light radiating from your subjects. Use sparingly for a natural look.
Bokeh/Lens Blur
Blur the background artistically with bokeh blur. This emphasizes your focal point while adding a dreamy ambiance. Customize the shape and quantity of bokeh for unique looks.
Selective Color Pop
Make specific colors pop by desaturating the whole image, then selectively brushing back in color. This eye-catching effect puts all the emphasis on what matters most.
Grain/Film Effects
Add stylized film grain for extra mood and texture. This provides a lovely retro analog vibe.
These effects open up creative possibilities beyond realism. Use them thoughtfully to complement your overall vision for your pre-wedding photos.
Image Cropping and Compositing
Two more advanced editing techniques to consider are thoughtful cropping and compositing multiple images together.
Cropping removes distracting elements, and shifts focus to your favorite part of the image. Use cropping judiciously to highlight your subjects while preserving essential details.
Compositing combines the best parts of multiple exposures and photos into one final image. This allows you to mesh complementary pictures and build your ideal shot. With meticulous blending, the results look seamless.
Both cropping and compositing require time and care. When done right, they can transform good photos into visual masterpieces. Explore the potential through careful experimentation.
Final Touches
After completing primary editing, apply these last touches:
- Critical Review – Zoom in and examine every inch for any minor imperfections. Perform final localized clean-up and refinements.
- Confirm Color Balance – Reconfirm proper white balance and natural skin tones. Make any last little adjustments needed.
- Select Best Images – Review all edited photos and select the top 5-10 standout hero images. These will go on your wedding website, albums, invitations, etc.
- Add Borders or Edges – Add stylish borders or edges for albums or framed prints. These can be simple black edges, ornate frames, painterly brush strokes, decorative film edges, or blurred vignettes. This gives a polished, complete look.
- Watermark Images – Lightly watermark your photos to protect your work. Use your name, logo, or creative text blended subtly into the image.
- Export and Back Up – Export your edited photos at high resolution and back them up in multiple places for safekeeping. You’ve put in so much work, so protect your results!
- Print and Showcase – There are endless options for beautifully showcasing your photos, from prints and canvases to photo books and wedding websites. Get creative with presenting your images so you can fully appreciate your editing efforts and have them preserved for years to come.
With time, patience, and practice, you can learn to edit your pre-wedding photos expertly. The techniques covered in this guide will have you enhancing your images like a pro. Enjoy putting your creative spin on your photos to make them unique. Most importantly, have fun commemorating this particular time leading up to your big day!
FAQs
What are some quick editing tips for pre-wedding photos?
Some quick fixes include straightening crooked shots, adjusting brightness and contrast, enhancing colors, applying presets for instant polish, and using the spot healing tool to remove blemishes quickly. Spend just 5-10 minutes per photo for quick yet impactful enhancements.
How can I achieve a soft, romantic look?
Use a lower contrast curve, avoid harsh vignettes, and opt for subtle light flares. Soften focus slightly and brush a radial blur vignette to mimic a tilt-shift lens. Desaturate colors touch and add light grain for dreamy aesthetics.
What are suitable mobile apps for editing pre-wedding photos?
Some top mobile photo editing apps ideal for pre-wedding shots include Snapseed, VSCO, Afterlight, Lightroom Mobile, Pixelmator Photo, and TouchRetouch. These provide powerful editing tools right on your phone or tablet.
What type of computer do I need for editing photos?
You don’t need a fancy high-end computer. Any relatively modern Windows PC or Mac with 8GB+ RAM should suffice for photo editing with mainstream software like Lightroom. For optimal performance when using more resource-intensive programs like Photoshop, a higher-end setup helps.
Is it better to shoot RAW or JPEG for pre-wedding photos?
Shoot both! Take photos in RAW format to retain complete data and editing flexibility in programs like Lightroom. Simultaneously save JPEGs for conveniently sharing unedited shots straight from the camera. RAW gives you creative freedom, while JPEGs serve as great camera-ready options.
Conclusion
Editing pre-wedding photos allows you to unleash your creativity and transform your images into something extraordinary and unique. Enhancing your photographs with the right software tools and editing techniques is fun and rewarding. Take the time to organize and import your photos, make thoughtful global and local adjustments, add creative stylized effects, carefully crop and composite images, and put those finishing touches on your edits. The result will be stunning pre-wedding photos infused with your vision and style to treasure for a lifetime. Equivalent Exposure Calculator to Achieve Perfect Exposure in Your Photos So grab your favorite pics, fire up your preferred editing tools, and prepare for an enjoyable journey turning your pre-wedding photographs into works of art!


