
What Are the Best Camera Settings for Outdoor Portraits?
When capturing portraits, shooting outside is an excellent option to obtain stunning images with natural lighting. But, outdoor photography can be tricky as the weather and natural light change. Therefore, it’s crucial to adjust your camera settings to properly expose your subjects and take advantage of the environment. To get outstanding outdoor portraits, you need to follow a comprehensive guide on what are the best camera settings for outdoor portraits.
Choose the Right Location
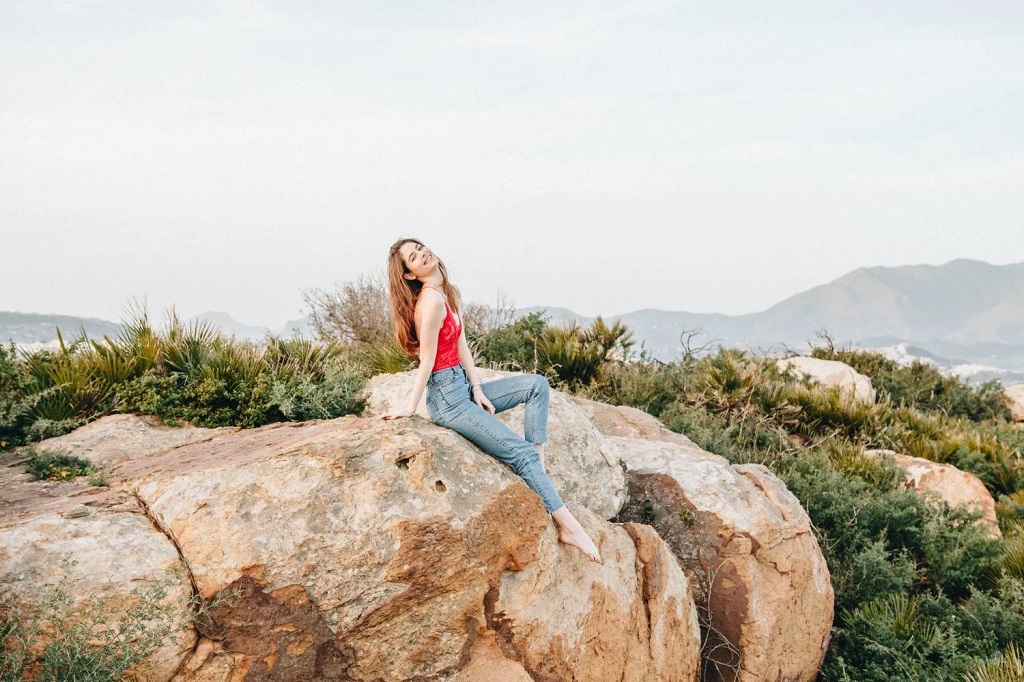
The location you choose for outdoor portraits can drastically affect your photos. Here are some location tips for ideal outdoor portrait sessions:
Consider the Time of Day
The best time for outdoor portraits is often early morning or late afternoon, with softer sunlight. Overhead midday light can create harsh shadows on faces. The golden hours around sunrise and sunset provide a warm, glowing light.
Look for Open Shade
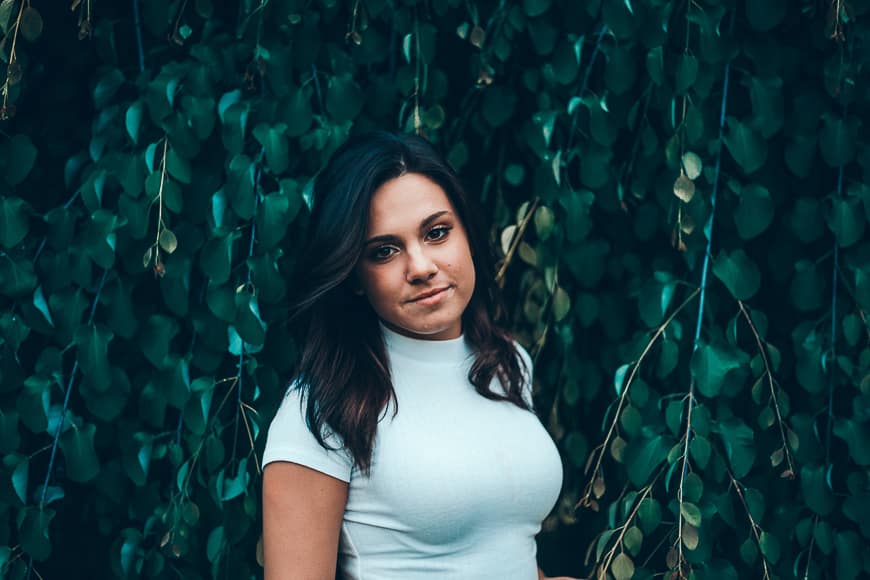
Like under a large tree, open shade provides soft, even light. Dappled sun through trees can also give a flattering effect. Direct sunlight should typically be avoided for portraits.
Include Natural Elements
Use natural frames like archways, trees, or flowers to complement your subject. Water elements, green landscapes, or weathered architecture also make interesting portrait backgrounds.
Scout Locations Ahead of Time
Check out potential outdoor locations at your desired time of day to ensure the lighting and background will work for portraits. Look for clean, clutter-free backgrounds.
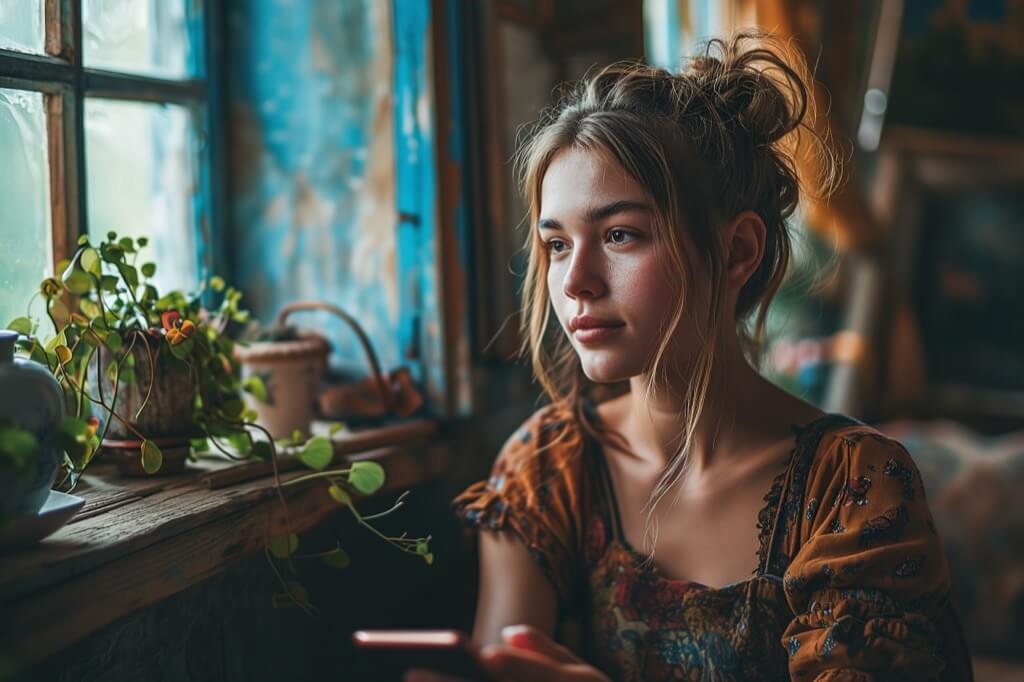
Consider Indoor Natural Light
Large windows and doorways allowing ample natural light to stream in can make good alternative portrait locations on bright or dark days.
Dial in Your Camera Settings
Once you’ve selected the perfect outdoor location, fine-tune your camera settings for proper exposure. Here are the key settings to control:
Choose Aperture for Depth of Field
Select an aperture (f-stop) that provides your desired depth of field. Lower f-stop numbers around f/2.8 to f/4 give a shallow depth of field that blurs the background. Higher f-stops like f/8 to f/16 keep more elements in focus.
Pick an Appropriate Shutter Speed
A shutter speed of at least 1/125th sec is recommended to freeze slight subject movement. Increase the shutter speed in sunlight or lower it in shade if needed. Use a tripod with slow shutter speeds.
Check the ISO
Increase the ISO if you need a faster shutter speed or smaller aperture. But go with the lowest ISO possible for maximum image quality. Standard settings are ISO 100 to 400.
Shoot in Manual Mode
Manual mode allows complete control over aperture, shutter speed, and ISO for optimal exposure in changing outdoor light. You can also use Aperture or Shutter Priority modes.
Enable Exposure Compensation
Exposure compensation lets you quickly adjust brightness by +/- stops for tricky lighting situations. Bracketing multiple exposures is another option.
Use Spot Metering
Switch your camera’s metering mode to spot metering to base exposure on the brightness of your subject rather than the whole scene.
Set Focus for Tack Sharp Portraits
Perfectly focused portraits are essential. Use these techniques to achieve flawless focus in your outdoor shots:
Select Single Point Autofocus
Single-point AF lets you choose the exact part of the frame to focus on, like your subject’s eyes. Focus and recompose as needed.
Try Manual Focus
For ultimate control and accuracy, switch to manual focus mode. This can help in situations where autofocus struggles.
Choose Continuous Focus
If your subjects will be moving, continuous autofocus tracks and adjusts focus automatically on a selected AF point.
Use Back Button Focus
By separating AF activation from the shutter with back button focus, you can lock focus independently while you frame shots.
Focus on Live View
The live view screen can provide a more transparent, zoomed-in view for attaining an exact focus on details like eyes or facial expressions.
Take Multiple Shots
With fast continuous shooting mode, you can take multiple images in a burst to ensure you capture shots with perfect sharp focus.
Nail the White Balance Setting
The way your camera interprets color temperature can significantly impact image tones. Here’s how to dial in white balance:
Use Auto White Balance
Auto white balance works well in full sunlight. For other conditions, it may provide inconsistent mixed lighting results.
Set a Custom White Balance
Take a custom white balance reading of the lighting with a gray card for accurate, consistent color. Set it manually in your camera.
Try a Preset White Balance
Most DSLRs offer presets like Cloudy, Shade, Daylight, etc. These can provide good general accuracy in specific lighting conditions.
Shoot RAW
With RAW files, you can freely adjust the white balance later during post-processing for complete control.
Check Your Camera Screen
Review images on your LCD screen to check the white balance looks right. The preview is WYSIWYG for jpeg files.
Correct Mixed Lighting
If needed, adjust the color temperature and tint in post-production to fix mixed indoor and outdoor lighting color casts.
Craft Flattering Portrait Lighting
The lighting on your subjects plays a massive role in portrait quality. Follow these fundamental lighting rules:
Diffuse Direct Sunlight
Soft, diffused light is essential for pleasing portraits. Use scrims, reflectors, or natural shade to avoid direct sun.
Illuminate Eyes and Expressions
Be sure catchlights and shadows are visible to the eyes. Side lighting brings out facial contours.
Watch Out for Shadows
Watch for harsh shadows, especially on the face. Use reflectors or diffused fill flash to fill in shadows gently.
Consider Backlighting
With the sun behind, faces can be illuminated nicely. But watch for lens flare and dark eye sockets.
Reflect Warmth Onto Skin
Reflectors add pleasing warmth and glow to the skin. A gold reflector gives the most flattering light.
Use Negative Fill
Placing a subject before a dark background subtracts light for dramatic results on bright days.
Compose Quality Portraits
Posing and framing your subjects effectively is crucial:
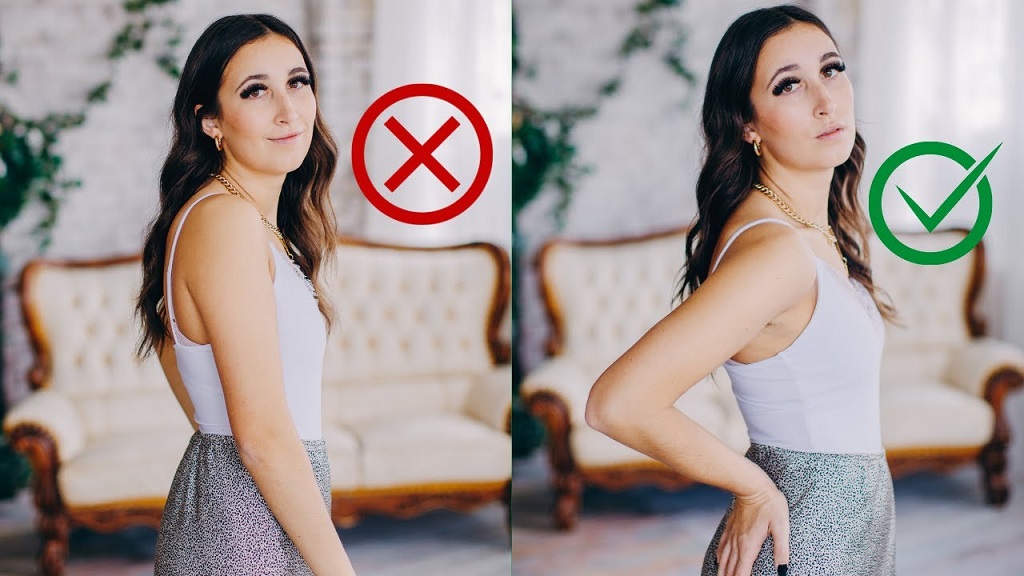
Position Subjects Thoughtfully
Place subjects comfortably at an angle to the camera for dynamic posing rather than straight on. Have them lean forward or shift their weight for natural looks.
Use the Rule of Thirds
Position the subject off-center so eyes are around the top third line or where lines intersect according to the rule of thirds for pleasing balance.
Leave Negative Space
Leave more space in the direction your subjects are looking and facing to create an intentional, natural feel with negative space.
Change Perspectives
Get on the subject’s level instead of shooting down. Take some close-up shots or move far back for a mix of perspectives.
Coach Poses and Expressions
Offer tips on flattering hand placement, posture, and stances. Elicit genuine smiles and emotions. Let interactions and conversations happen naturally.
Squat or Shoot from Low
They were shooting from below, forcing you to look up at subjects, which can be very powerful. Squatting helps you frame children at their level.
Focus on Flattering, Fun Portraiture
Portrait photography is meant to capture the essence of a person. Keep these additional tips in mind:
Make Faces the Priority
Focus on capturing light, expressions, and emotion on faces. Body language and poses are secondary. Avoid cutting off the top of heads or limbs.
Use Focal Length Creatively
Wider focal lengths bring out exaggerated facial features. Longer lengths compress features. Find the most flattering range for each subject.
Shoot Candid Moments
Some of the best portraits happen in between traditional poses. Be ready to capture authentic interactions and unplanned expressions.
Keep It Fun!
Keep the mood upbeat. Tell jokes, play music, or bring props to create a lively, positive session that brings out real personality and joy.
Include Family or Friends
Adding family or friends into group portraits helps subjects relax and have fun together. Get some shots of genuine connections.
Praise and Guide Your Subjects
Offer frequent positive feedback and direction during the shoot. Gently coach improvements in body language, posing, and expression.
Frequently Review Images
Check your camera LCD and show subjects sample shots as you go so they can see the progress, make pose adjustments, and understand what works.
5 Key Tips for Shooting Portraits Outdoors
Follow this quick checklist for making the most of outdoor portrait sessions:
- Pick open shade – Dappled sunlight or available shade creates soft, diffuse lighting. Avoid direct overhead sunlight.
- Focus on the eyes – Tack’s sharp focus on the eyes is an absolute must for striking portraits. Double-check it.
- Look for natural frames – Use archways, trees, fences, or natural elements to frame your subject.
- Face the light – Have subjects face the primary light source for even, flattering illumination. Use reflectors to fill shadows.
Use Props to Add Interest
Adding some simple props can provide visual interest and help subjects relax and interact during the portrait session:
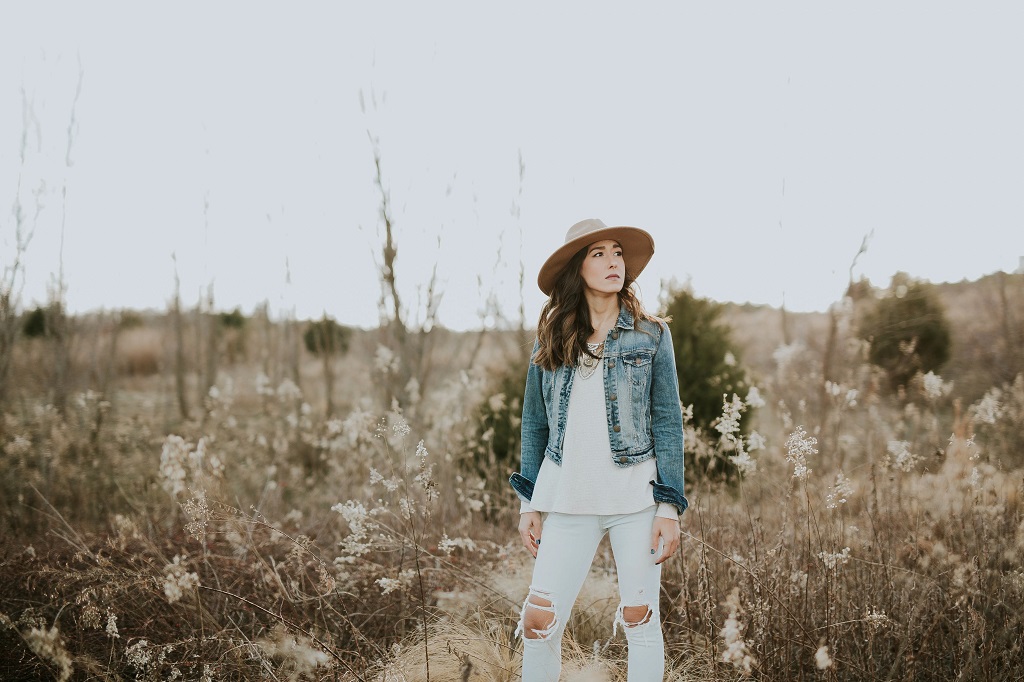
Hats, Glasses, and Jewelry
Have subjects bring signature accessories, styles, or wardrobe pieces that reflect their personality. Play with adding and removing hats or glasses for variety.
Flowers and Greens
Incorporate picked flowers, leaves, or other greenery as natural props subjects can hold or place around them. This enhances the outdoorsy feel.
Books or Notebooks
Let introverted or scholarly subjects hold or read books representing their interests to put them at ease and spark conversation.
Pets
Pets bring out smiles and connection. Photograph subjects interacting with their dogs, horses, or other animals for memorable portraits.
Sports Equipment
Include relevant sports gear like golf clubs, baseball mitts, or basketballs related to a subject’s hobbies and lifestyle. Get some action shots.
Instruments
Musicians often shine when able to hold or play their instrument—bonus points for getting them to perform.
Found Objects
Look for rustic antiques, weathered tools, or architectural elements that could add visual intrigue as props.
Master Portrait Posing Fundamentals
Posing your subjects effectively takes practice. Keep these pose principles in mind:
Head Tilt
Have subjects tilt their head slightly up towards the camera or down away from the camera for more dynamic headshots. Avoid straight-on views.
Chin Position
A slightly raised chin slims the face. A lowered chin can look more intimate or pensive. Vary chins higher and lower.
Watch the Shoulders
Keep shoulders turned at an angle rather than straight on. Have subjects shift their weight from one foot to the other.
Arms and Hands
Guide arm placement gently away from the body, with elbows softly bent. Have subjects clasp hands or place one hand on a prop.
Eyes and Eyebrows
Instruct subjects to lift their eyebrows slightly to open up their eyes more. Catchlights in the eyes draw the viewer’s focus.
Mouth and Lips
Closed-lip smiles tend to look more natural. Parted lips can convey other moods. Keep tongues tucked behind teeth.
Legs and Feet
Crossing legs or ankles subtly slims the body. Feet should be angled out or back, not straight at the camera.
Use Lighting Patterns and Textures
Take advantage of the natural lighting and environments around you:
Backlight Hair
Backlighting adds glow and dimension to hair. Use a reflector to bounce light back onto faces.
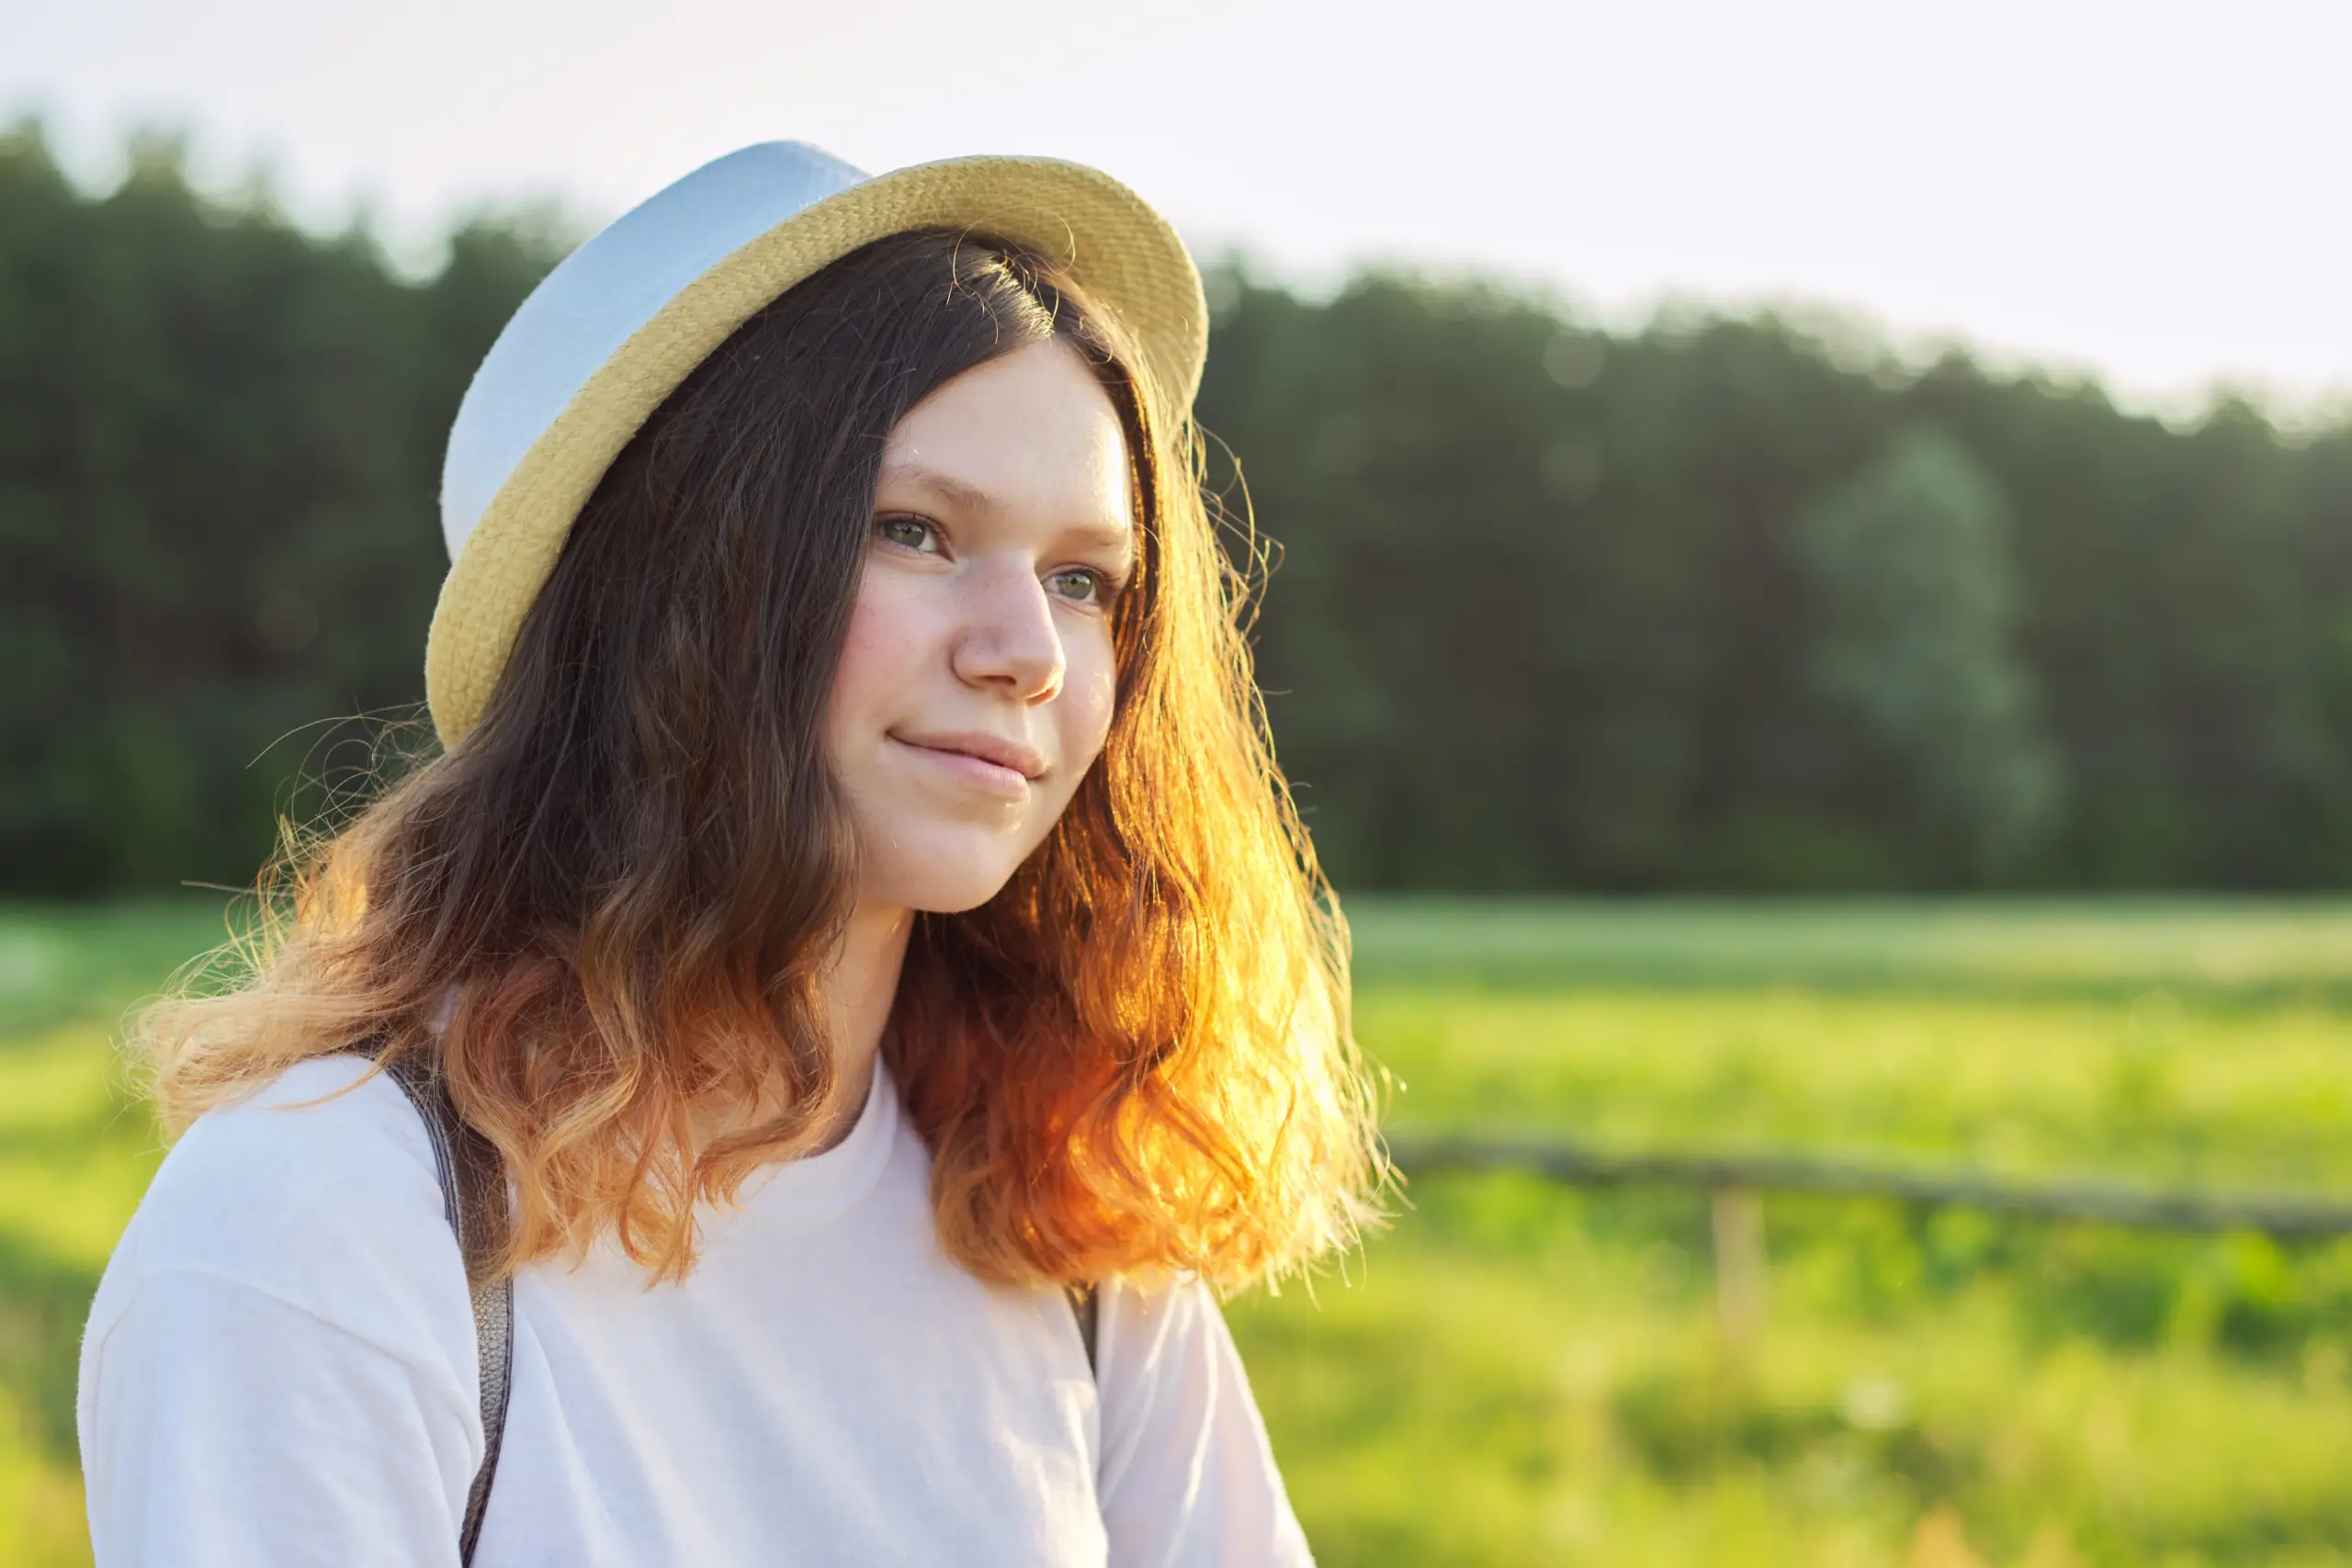
Golden Hour Magic
The soft light and long shadows around sunset lend magical lighting for portraits.
Dappled Sunshine
Spotty sunlight filtering through tree canopies provides striking interplays of light and shadow.
Fog and Mist
Soft overcast or fog helps mute backgrounds behind subjects, separating them from busy backgrounds.
Texture and Patterns
Old wood, weathered paint, gravel roads. Greenery can add great visual texture as a portrait background.
Advanced Outdoor Portrait Considerations
Once you’ve mastered the basics, try stepping up your outdoor portraiture with these advanced techniques:
Lenses for Compression
Use telephoto lenses like an 85mm or 135mm prime lens to flatten facial features in a pleasing, slimming way.
Wide Apertures for Bokeh
Shoot at the lowest f-stops your lens allows (f/1.8, f/1.4, etc.) to blur out distracting backgrounds and draw focus to the eyes.
Off-Camera Lighting
Add small, on-location flash or lighting like a reflector or LED panel to lift shadows or create directional lighting.
Dramatic Post-Processing
Convert color portraits to black and white or use presets to add moody, blockbuster film looks in editing.
Creative Composition
Get artsy with symmetry, negative space, geometric framing, or whimsical perspectives.
Print and Display
Don’t keep portraits isolated on your camera. Print and frame your best images to be enjoyed.
Common Outdoor Portrait Photography Mistakes to Avoid
Steer clear of these rookie portrait mistakes during your next outdoor session:
- Shooting only straight-on headshots. Get varied perspectives and poses.
- Placing subjects in direct overhead sunlight. Seek open shade instead.
- Leaving cluttered backgrounds that distract. Clean up the setting or adjust angles.
- Catching blinks or poor expressions. Take lots of shots and offer directions.
- Cutting off body parts awkwardly. Watch the framing and leave room.
- Positioning subjects looking out of frame. Follow the gaze with space to look into.
- Skipping lens changes. Vary focal lengths for different looks. Move physically closer, too.
- Keeping every photo. Edit down to only the best expressions and poses.
- Forgetting to check focus. Zoom in on eyes to ensure proper sharpness.
- Letting shadows hide eyes. Use reflectors or flash to see catchlights.
FAQs
What time of day is best for outdoor portraits?
The golden hours around sunrise and sunset provide the most flattering light. Open shade on bright days also works well. Avoid midday sunlight.
Should I use Flash for outdoor portraits?
Natural light is usually preferred. But a touch of fill flash can gently fill facial shadows. Use diffusers or bounce flash.
What aperture should I use?
A wide aperture around f/2.8-f/4 provides a soft background blur. Stop down to f/5.6-f/8 to get more elements in focus.
How do I get clear eyes in outdoor portraits?
Have subjects face the light source and use reflectors or diffused flash to add light to their eyes to see catchlights and iris details.
What are the best locations for outdoor portraits?
Seek attractive natural frames like foliage, alleys, arches, or doorways. Water, forest, and golden fields also make great portrait backdrops.
In Conclusion
Outdoor portrait photography allows for beautiful lighting and scenery that indoor spaces can’t match. But shooting outside does require reckoning with changing light, Explore The Lost Art of Wet Plate Photography shadows, and other environmental factors. Use these tips on optimizing your camera settings, lighting, posing, and focus techniques to get professional quality outdoor portraits. With practice and these fundamentals, you’ll be able to consistently create striking outdoor portraits that capture the essence of your subjects.


